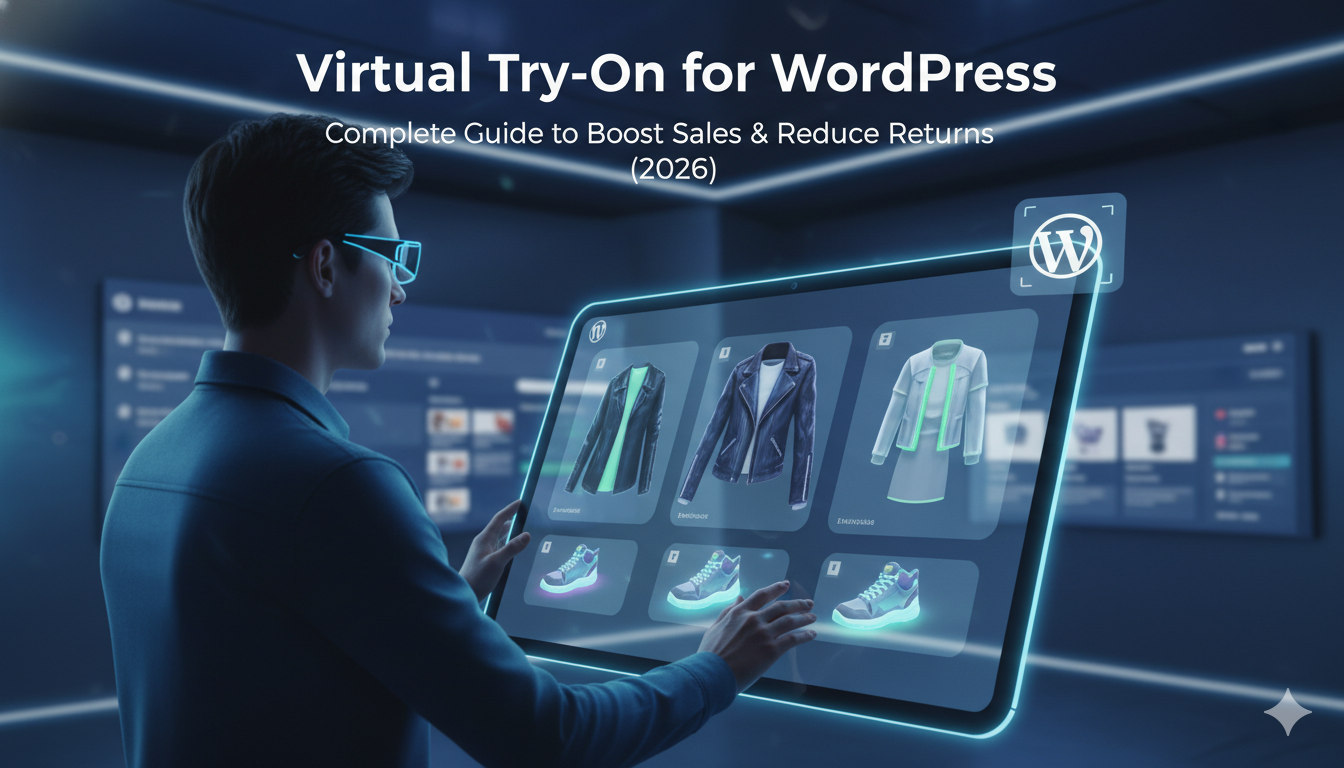
How to Prepare Your WooCommerce Product Images for Virtual Try-On: The Complete Guide (2026)
FADI
Fadi Yousef
Author
March 03, 2026
16 min read
734 views

You've installed a virtual try-on plugin on your WooCommerce store. You're excited about reducing returns and boosting conversions. But there's a problem: the AI-generated try-on results look terrible. Clothes are warped, colors are off, and your customers are more confused than convinced.
The issue isn't the technology — it's your product images.
Virtual try-on AI is only as good as the images you feed it. A poorly lit, cluttered, or low-resolution product photo will produce a distorted, unrealistic result every time. Yet most guides on virtual try-on for WooCommerce focus entirely on plugin installation and skip the most critical step: preparing your product images so the AI can actually do its job.
This guide fills that gap. Whether you're using TryMyLook, Tryly.ai, Webkul's Virtual Try On, or the official WooCommerce Virtual Try-On plugin powered by Google Gemini, these image preparation principles apply universally. By the end, you'll know exactly how to photograph, edit, and optimize your product images to get the most realistic virtual try-on results — and turn that into real revenue.
Why Product Image Quality Matters More Than Ever
Online fashion return rates are staggering. Industry data from 2024–2025 shows that apparel return rates consistently land between 25% and 40%, with fit and sizing issues accounting for roughly 45% of all returns. Retailers using virtual try-on technology have seen return reductions of up to 34% compared to stores without it — but only when the technology works properly.
The AI behind virtual try-on tools needs to understand several things from your product image: the garment's shape, color, texture, how it drapes, and where it begins and ends. If your image makes any of these things ambiguous, the AI will guess — and it usually guesses wrong.
Think of it this way: if a human stylist couldn't clearly see the outline of a dress in your photo, how would they know how to fit it onto a customer? Virtual try-on AI faces the same challenge, except it's even less forgiving of poor-quality input.
The 7 Rules of Virtual Try-On-Ready Product Photography
Rule 1: Shoot on a Clean, Neutral Background
This is the single most impactful change you can make. Virtual try-on AI needs to clearly distinguish the garment from the background to map it onto a customer's photo accurately.
What works best:
A pure white or very light gray background. This gives the AI maximum contrast to detect the garment's edges, sleeves, collar, hemline, and every detail in between.
What to avoid:
Busy lifestyle backgrounds, textured surfaces, patterned fabrics underneath the garment, or dark backgrounds that absorb detail from dark-colored clothing.
Pro tip: If you're shooting on a budget, a large sheet of white foam board from any craft store costs under $5 and creates a perfectly clean sweep for flat-lay photography.
Rule 2: Use Flat-Lay or Ghost Mannequin — Not Hangers
The way you display the garment in your photo directly affects how the AI interprets its shape and fit.
Flat-lay photography (garment laid flat on a surface, photographed from above) is the most universally compatible format for virtual try-on tools. The AI can clearly see the garment's full silhouette without any distortion from a three-dimensional form.
Ghost mannequin images (also called "invisible mannequin" or "hollow man" photos, where the mannequin is removed in editing) are the second-best option. They give the garment a natural 3D shape that helps the AI understand how it drapes on a body.
Avoid hangers. When a garment hangs from a hanger, the shoulders bunch up unnaturally, the fabric falls differently than it would on a body, and the AI has to compensate for an extra object in the image. Most virtual try-on tools specifically recommend against hanger shots.
Avoid on-model photos as your try-on input. This might seem counterintuitive, but when customers use virtual try-on, the AI needs to place the garment onto their photo. If your source image already has a model wearing the garment, the AI has to first separate the clothing from the existing model before applying it to the customer — a process that introduces errors. Use on-model shots for your regular product gallery, but provide flat-lay or ghost mannequin images for the virtual try-on feature.
Rule 3: Ensure Proper Lighting (No Harsh Shadows)
Lighting is where amateur product photography most often fails, and it has an outsized impact on virtual try-on quality.
The goal: Even, diffused lighting that shows the true color and texture of the fabric without creating dark shadows or blown-out highlights.
The setup that works:
Two softbox lights (or even two desk lamps with white paper diffusers) positioned at 45-degree angles to the garment, with a reflector card on the opposite side to fill in any shadows. Natural window light on an overcast day also works beautifully for flat-lay shots.
Why this matters for virtual try-on:
When the AI overlays your garment onto a customer's photo, it needs to know the garment's actual color — not the color it appears under warm tungsten light or harsh direct sunlight. Inconsistent or colored lighting forces the AI to guess at color correction, which leads to garments that look unnaturally bright, dull, or tinted in the try-on result.
What to avoid:
Mixed lighting sources (such as one warm lamp and one cool LED), direct camera flash, and overhead-only lighting that creates deep shadows under collars and folds.
Rule 4: Capture High-Resolution, Full-Garment Images
Virtual try-on AI analyzes fine details — stitching, texture, print patterns, button placement — to create a realistic overlay. Low-resolution images lose these details and produce blurry, unconvincing try-on results.
Minimum resolution: At least 1024 × 1024 pixels. Most modern virtual try-on tools accept images up to 2048 × 2048 pixels, and many work best in this range.
File format: JPG or PNG. PNG preserves more detail (especially useful for garments with transparent or semi-transparent elements), but JPG at high quality (80%+) is acceptable for most clothing items.
File size limits: Most WooCommerce virtual try-on plugins cap uploads at 4–10MB. Shoot at the highest quality your camera offers, then compress to stay within limits without losing visible detail.
Framing: The full garment should fill approximately 80% of the frame. Leave a small border of background around all edges so the AI can clearly see where the garment ends. Don't crop off sleeves, hems, or collars.
Rule 5: Show the Garment in Its Natural State
This rule is about presenting the clothing as it would actually appear when worn, without distracting modifications.
Do:
- Iron or steam the garment to remove wrinkles and creases
- Button shirts, zip jackets, and close clasps for the primary image
- Arrange sleeves, collars, and hems in a natural position
- Make sure print patterns and logos are centered and clearly visible
Don't:
- Pin or clip the garment to artificially change its shape
- Fold parts of the garment that would be visible when worn
- Stack multiple garments in one image
- Include accessories, belts, or jewelry unless they're part of the product being sold
Why this matters: The AI takes your product image literally. If you've pinned a waistline to look slimmer, the try-on result will show the garment with an unnaturally narrow waist. If half the garment is folded, the AI may not render the hidden portion correctly.
Rule 6: Maintain Consistency Across Your Catalog
Consistency isn't just good for brand aesthetics — it's essential for virtual try-on performance and customer trust.
When your product images have the same lighting, background, angle, and framing, the AI produces consistently good results across your entire catalog. When each image looks different (some on white, some on wood, some on a model, some flat-lay), the try-on quality varies wildly, and customers lose confidence in the feature.
Create a style guide for your product photography:
- Same background color and surface for every shot
- Same camera height and angle (straight above for flat-lay, or eye-level for ghost mannequin)
- Same lighting setup, positioned identically for every shoot
- Same distance from the garment, so relative sizes are accurate
- Same post-processing adjustments (white balance, contrast, sharpness)
Practical tip: Mark your lighting and tripod positions with tape on the floor. Take a reference photo of your setup so you (or anyone on your team) can recreate it exactly for future shoots.
Rule 7: Optimize for Speed Without Sacrificing Quality
Your try-on-ready images need to load fast on product pages. A customer who waits 8 seconds for a page to load won't wait another 15 seconds for a try-on image to generate.
Compression targets:
Keep product images under 500KB for web display while maintaining visible quality. Use tools like ShortPixel, TinyPNG, or Imagify (all of which have WordPress plugins) to compress without noticeable quality loss.
Use WebP format where possible:
WebP images are 25–35% smaller than equivalent JPGs with no visible difference. Most modern WooCommerce themes and CDNs support WebP. Keep a high-quality JPG or PNG original stored separately for the virtual try-on AI to process, while serving the compressed WebP on your product pages.
Advanced: Editing Product Images for Better Virtual Try-On Results
Already have hundreds of product images in your WooCommerce store? You don't necessarily need to reshoot everything. Here are editing techniques that can significantly improve virtual try-on results from existing photos.
Background Removal
If your current photos have busy or colored backgrounds, removing the background and replacing it with pure white is the highest-impact edit you can make.
Tools for WooCommerce stores:
- Remove.bg — AI-powered background removal, integrates with WordPress via plugins
- ShortPixel AI Image Enhancer — Removes backgrounds, adds shadows, and improves lighting directly from your WooCommerce product editor
- Canva — Free background removal tool, good for quick manual edits
- Adobe Express — Background removal with additional editing tools
Color Correction
If your photos have a color cast from mixed or warm lighting, correct the white balance so garment colors are accurate. Customers who see a true-to-life color in the virtual try-on are far less likely to return items due to color mismatch.
Shadow Addition
After removing the background, garments can look like they're floating unnaturally. Adding a subtle drop shadow below the garment grounds it visually and helps the AI understand the garment's dimensionality.
Cropping and Centering
Ensure the garment is centered in the frame with even padding on all sides. Asymmetric cropping or garments pushed to one edge of the image can cause the AI to misalign the garment during the try-on overlay.
Measuring the Impact: How to Know If Your Images Are Working
After optimizing your product images, track these WooCommerce metrics to measure the impact on virtual try-on performance and overall store performance:
Virtual try-on engagement rate: What percentage of product page visitors click the try-on button? Low engagement may mean the button isn't visible enough or customers don't trust the feature yet. Industry data suggests stores with well-implemented virtual try-on see significant engagement, especially on mobile.
Try-on completion rate: Of those who start a virtual try-on, how many complete it? A high drop-off rate can indicate that the AI results look unrealistic (which points back to image quality) or that the generation is too slow.
Add-to-cart rate after try-on: This is the money metric. Customers who use virtual try-on and are satisfied with the result should convert at a much higher rate than those who don't. Some WooCommerce store owners report that customers who complete a try-on are roughly twice as likely to add an item to their cart.
Return rate by product: Compare return rates for products with optimized try-on images versus those without. This is the clearest indicator of whether your image preparation is translating into real business results.
Common Mistakes That Ruin Virtual Try-On Results
Even well-intentioned store owners make these mistakes. Avoid them and you'll be ahead of 90% of WooCommerce fashion stores using virtual try-on.
Using the same image for everything. Your marketing hero image, Instagram post, and virtual try-on input have different requirements. One image rarely serves all three purposes well.
Ignoring mobile optimization. Over 70% of fashion e-commerce traffic comes from mobile devices. If your product images are too large and slow the page, mobile users abandon before they ever reach the try-on button.
Skipping image alt text. This doesn't affect try-on quality, but it affects whether customers find your product pages in the first place. Descriptive alt text (for example, "Women's blue linen blazer front view flat-lay on white background") helps Google index your images and drives organic traffic.
Using AI-generated product images as try-on inputs. There's a growing trend of using AI to generate product photos from scratch. While these can look stunning in your gallery, they sometimes lack the physical accuracy that virtual try-on AI needs to produce realistic results. AI-generated images may show fabric textures, folds, and draping that don't match the actual product, leading to try-on results that further deviate from reality.
Not testing across device types. A try-on result that looks great on your desktop monitor may look distorted or color-shifted on a mobile screen. Test on multiple devices before declaring your images "done."
Image Preparation Checklist for WooCommerce Virtual Try-On
Use this checklist before uploading any new product to your WooCommerce store:
Photography:
- [ ] Clean white or light gray background
- [ ] Flat-lay or ghost mannequin display (no hangers, no on-model for try-on input)
- [ ] Even, diffused lighting with no harsh shadows or color casts
- [ ] Garment fills 80% of the frame with even border space
- [ ] Full garment visible — no cropped sleeves, hems, or collars
- [ ] Garment steamed/ironed and arranged naturally
- [ ] No extra props, accessories, or overlapping items
Technical specifications:
- [ ] Resolution: minimum 1024 × 1024 pixels (ideally up to 2048 × 2048)
- [ ] File format: JPG (quality 80%+) or PNG
- [ ] File size: under 4MB for upload, under 500KB for web display
- [ ] Colors are true to the physical product
WooCommerce setup:
- [ ] Try-on-optimized image placed in the correct position (featured image or first gallery image, depending on your plugin)
- [ ] Descriptive alt text added
- [ ] Images compressed for fast page load (WebP version served to browsers)
- [ ] Virtual try-on enabled and tested for this product
- [ ] Results checked on both desktop and mobile
FAQs
Can I use the same product images for my regular WooCommerce gallery and virtual try-on?
You can, but you'll get the best results by separating the two. Use your most attractive lifestyle or on-model shots in the product gallery to showcase styling and context. Then provide a clean, flat-lay or ghost-mannequin image specifically for the virtual try-on feature. Most WooCommerce virtual try-on plugins let you control which image the AI uses.
What's the ideal image resolution for WooCommerce virtual try-on?
Most virtual try-on tools work best with images between 1024 × 1024 and 2048 × 2048 pixels. Going below 1024px risks losing fabric detail, which makes try-on results look blurry or unrealistic. Going above 2048px usually doesn't improve results and can slow down processing. Check your specific plugin's documentation for exact limits.
Do I need to remove the background from my product photos?
It's not always mandatory, but it dramatically improves results in most cases. A clean white background gives the AI the best chance of accurately detecting the garment's edges. If background removal isn't an option, at minimum use a solid, light-colored, uncluttered background.
Does virtual try-on work for all types of clothing?
Most current WooCommerce virtual try-on tools support tops (shirts, blouses, jackets), bottoms (pants, skirts, shorts), and dresses. Some are expanding to include outerwear and full outfits. Categories like swimwear, lingerie, and heavily structured garments (such as formal gowns with complex draping) can be more challenging and may produce less reliable results. Accessories like hats, scarves, and jewelry have varying levels of support depending on the plugin.
Will virtual try-on slow down my WooCommerce store?
The try-on feature itself shouldn't slow your page load if implemented correctly. Most plugins load their scripts asynchronously, meaning the try-on button appears without blocking the rest of the page. The AI processing happens after the customer clicks the button, not on page load. However, if your product images are excessively large and uncompressed, they can slow the entire page regardless of the try-on feature.
How much does it cost to add virtual try-on to WooCommerce?
Costs vary widely. Some plugins like TryMyLook offer tiered subscription plans based on usage. The official WooCommerce Virtual Try-On plugin is free to install but uses Google Gemini API credits, which have a free tier and paid plans based on volume. Webkul's solution has its own pricing structure. For a small fashion store processing a few hundred try-ons per month, expect costs to be modest. For high-volume stores, compare per-try-on costs across providers to find the most economical option.
Can I use virtual try-on for products beyond clothing?
Yes. Several WooCommerce virtual try-on plugins also support furniture (seeing how a sofa looks in your living room), eyewear (trying on glasses), jewelry, and home décor like paintings and wall art. The image preparation principles are similar: clean background, good lighting, accurate colors, and high resolution.
How do I test whether my product images are producing good virtual try-on results?
The simplest approach is to upload a few customer-type photos (different body types, lighting conditions, backgrounds) and run them through the try-on feature yourself. Look for: accurate garment color, natural-looking fit around shoulders and waist, correct sleeve and hemline length, and no visible artifacts or warping. If results look off, revisit the image preparation checklist above and re-photograph or re-edit the problem images.
What's Next
Preparing your product images is the foundation of a successful virtual try-on implementation on WooCommerce. Without it, even the best AI-powered plugin will produce disappointing results that hurt customer confidence rather than building it.
The stores that are seeing real revenue impact from virtual try-on — reduced returns, higher conversions, increased average order value — aren't just the ones with the fanciest technology. They're the ones that invested time in getting the basics right: clean photography, consistent lighting, proper image formatting, and thoughtful placement within their WooCommerce product setup.
Start with your top-selling products. Reshoot or re-edit those images using the guidelines in this article. Test the virtual try-on results, measure the impact, and then roll the optimized approach across your entire catalog.
Your customers can't touch your products through a screen. Virtual try-on is the closest thing to handing them the garment in person. Make sure the experience lives up to that promise.
Ready to add virtual try-on to your WooCommerce fashion store? Try TryMyLook — our WordPress plugin makes it easy to give your customers the confidence to buy, with AI-powered virtual try-on that works beautifully when paired with well-prepared product images.